Sunday, 28 April 2013

Fresh off the bench: A-10 Thunderbolt II ‘Tank Buster’

Hobby Boss 1/72-scale A-10 Thunderbolt II


In my last post, I mentioned the part that nostalgia can play in deciding what models I build. Nostalgia for my childhood certainly played a part in my decision to build this A-10 ‘Tank Buster’, as the ungainly shape and turbofan sound of the A-10 was a daily presence in Lincolnshire in the 1980s and 90s. Back then, as the Cold War was entering a decidedly ‘hot’ period, I lived my childhood in an area peppered with airfields which were home to some of NATO’s strongest and most fearsome warplanes. Despite the on-going and supposedly knife-edge threat of World War 3, which would be expected to begin on the East German border about 600 miles away, it was a great time and place to be a small boy: several times a day the peace would be shattered by low-flying jets like Tornados, Harriers, F-111s and of course A-10s.
Owned and operated by the USAF, our local A-10s were based at RAF Bentwaters in Suffolk, though they also spent time training at FOLs (Forward Operating Locations) in West Germany to familiarise themselves with the terrain and locations in which the next world war would unfold. The A-10 (known as the A-10 Warthog in the US) was designed from scratch as a ground attack aircraft, destroying threats on the ground to enable ground forces to advance, hence the nickname Tank buster. Most military jets of the era would appear over our heads and then vanish in a matter of seconds, often flying at low level with afterburners engaged and often creating sonic booms. The good old Tank Buster was a different story: the open countryside of East Anglia was an ideal training ground for the A-10s, and we became used to them slowly circling our villages, farms, and even school buses as targets on their training missions. A great memory from those days is of standing in my granddad’s back garden with my dad’s binoculars, watching Tank Busters doing circuits on the bombing range at Holbeach Marsh and hearing the distant thunder of their massive rotary canon as they hammered the targets on the range.
I grew fond of the A-10 simply through familiarity, these quirky-looking planes being a daily sight in Lincolnshire 25 years ago. Since then, I have read more about the A-10 including a compilation of memoirs by A-10 pilots in the Gulf, and I have become impressed by the aircraft’s uncompromising design, tough reputation and awesome ability to deliver firepower. A standout feature of the A-10 is the 30mm Avenger canon mounted in the nose, a weapon which fires an armour-piercing 30mm round 65 times per second – and can punch through 38mm of armour from one kilometre away. Aside from its fighting ability, the A-10 boasts some really smart design features, including main landing gear units that can be swapped to either side, a titanium-armoured cockpit, and turbofan engines which are harder for heat-seeking missiles to lock onto.
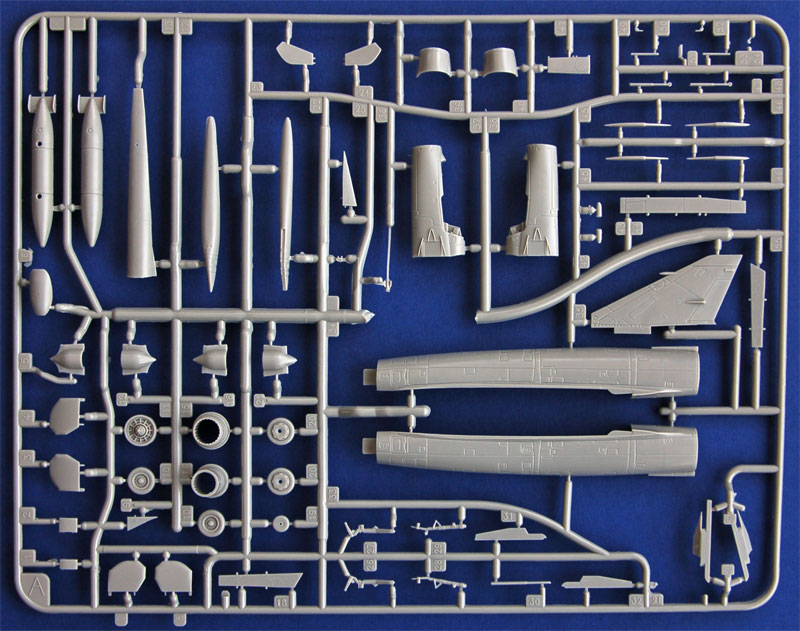
This model is built from a kit by a relatively new name on the scene, Hobby Boss. I must say it is a pretty good kit which goes together well, though it is disappointing that it doesn’t include any bombs or missiles – hence my A-10 is ‘clean’. The overall shape looks pretty accurate to me, and the cockpit detail is quite good with decals to represent the control panels. The biggest problem during construction was fitting the under-wing weapons pylons: these were attached to the sprue/frame by unnecessarily thick gates, and the effort needed to remove the parts led to me damaging several of them. The locating pegs which are supposed to help line up the pylons in the correct places were too long, and needed trimming in order to fit them. However, the assembly of the fuselage and wings was very good and I only used a little filler on the wing roots and below the cockpit.
I tried to recreate the USAF European One camouflage scheme as used in the 1980s, and I don’t think I have got it quite right but I am happy with the overall effect. The light in the photos makes the plane look pale, but it is actually very dark.

*Edit: I took a photo in different light this morning to show the dark camouflage - see below*


Bad bits:
Lack of missiles and bombs
Small parts difficult to remove from the frame
Some of the decals have 'silvered' (you can see the clear backing film)
Good bits:
Captures the look of the A-10
Good cockpit detail
Camouflage turned out well

Tuesday, 16 April 2013

WW2 display: A Corner of Kent, 1943


If you involve yourself in a hobby for long enough, sooner or later you will start to feel nostalgia for the ‘old days’. The same goes for model building, and along with many people, I look back fondly at the kits available when I first began building in the early 1980s. The big names back then were Airfix and Matchbox, and though Matchbox no longer produce model kits, Airfix are still on the go and are in fact still making some of the kits modellers used to build 30 and 40 years ago.
I have long been an avid reader of combat pilots’ memoirs, especially those from the Second World War, and I fancied building some of the planes which featured in those personal accounts of the war. After visiting a few old Kent WW2 airfields such as Headcorn, Manston and Hawkinge, I had the bug and quickly got together the materials I needed to build a small display based on a typical Kent RAF airfield in the middle of the war.
The following things were used to create this display:
A cheap DIY pre-cut shelf from The Range (wooden base)
Woodland Scenics grass mat (grassy finish for the base)
Woodland Scenics grass scatter material (dark clover patches for the grass)
Hornby OO-scale Nissen hut (briefing hut)
Oxford Diecast 1-76-scale Alvis Tourer (officer’s car)
Wills OO-scale bicycles (the bike outside the briefing hut)
Airfix 1-72-scale Beaufighter TF-X
Airfix 1-72-scale Spitfire Mk. IX
Construction of the display was very simple. I cut the grass mat to size and stuck it to the wooden base using PVA glue, and placed the briefing room and the car in the same way. I sprinkled darker grass material in patches to look like clover, again stuck with PVA. The planes are simply standing in place. The bare, treadworn patch in front of the hut was made by just scraping the green material off the mat.
Apart from the actual planes themselves, nearly everything else used was taken from the world of OO-scale railway modelling. Though a slightly different scale (OO-scale is 1-76, the Airfix planes are 1-72) they still look about right.
My intention was to create a display, not a diorama. There is no story being told here, no specific moment of action is being captured in model form, and the position of the planes and hut are not totally realistic. Instead, it is a display of two WW2 aircraft as they might have looked in summer 1943, in a setting intended to pay a warm tribute to the airfields of Kent which worked tirelessly to defend the skies of southern England from the Luftwaffe.
Having said that, when I look at the display, a story begins in my own head! I think it is a warm evening in June 1943, about 7pm. After a quiet day the Beaufighter is being readied for a busy nightshift engaging Luftwaffe intruders. The Spitfire is a visitor from another airfield, maybe running an errand or perhaps it stopped short of fuel after a sortie during the day. The black Alvis parked by the briefing room belongs to the Squadron Leader, who has driven over to check up on a War Ministry bulletin or some new intel on enemy tactics. In any case, this green and pleasant idyll among the chalk hills of Kent will echo to the sound of mighty aero engines as crews begin their forays into the darkness to patrol the coast. Soon, the ground crews will grab a few hours’ rest before emerging into a misty dawn to service the returning planes, the pilots hurriedly debriefing in the morning light before eating breakfast and going gladly to their bunks.
The aircraft kits are both inexpensive Airfix kits, and are basic but nice. The Beaufighter in particular appears to be a very old kit, lacking detail (there is no cockpit interior) and needing some work to blend in joints between the parts. The Spitfire Mk. IX is a nicer kit with better detail and parts fit, but is still what you would expect from an older Airfix kit. Both planes were sprayed with an airbrush, the green camouflage on the Spitfire being added with a brush. Ultimately, there are newer and better kits of both planes available but I wanted to go back to my roots and see what could be done with the good old Airfix models, and I have to say I am very glad I did.


Thursday, 28 March 2013

Project Galaxie: Update 1


Model kits have been available in some form or another since it was practical to make them. Balsa wood planes and boats appeared early on, and when plastic injection moulding became cost effective after World War 2, all manner of model kits began to appear, including cars. As with many things in the 1950s, the big commercial strides were made in the United States, where real car manufacturers were quick to catch on to the concept of plastic model cars as a promotional tool. The bigger brands offered ‘promos’ – 1/25-scale plastic replicas of their new cars to give to children, all part of securing a sale with ‘Mom and Pop’. These promo models were also offered as kits which required assembly, and in this manner the US scale model car kit as it has existed for the last several decades was born.


Such was the origin of the kit in question today: the AMT 1965 Ford Galaxie 500. Back then, American car brands operated a marketing technique called planned obsolescence, which is to say they purposely released a slightly revised model every year to encourage owners to return to the dealership and trade up. That meant the promo models changed each year too, and as such kit manufacturer AMT produced a new ’65 Galaxie kit for dealers to promote their new model for that year. Of course, promos were often released as model kits available in hobby stores, as this kit was. AMT continued to produce it on and off for decades, along with many other similar models based on dealer promos, and that gave us the back catalogue of American model car kits which has formed the backbone of the hobby in the US for so long.


I picked up this lit on Ebay a few years ago, during a phase in which I was mad about crisp 1960s styled cars. When it arrived, I was dismayed to find that many parts had been removed from the sprues and were loose in the box with no part numbers. Anyway, I got stuck in and gave the body a lovely coat of Peugeot bronze metallic paint, with a few coats of lacquer. I decided to follow the 1960s theme by adding a vinyl roof: this was pretty easy - all I did was mask off the rest of the body and give the roof a few light coats of Plasti-cote stain black spray paint, which gave a satin black and slightly uneven finish like a vinyl roof. The same satin black was used more carefully to give a vinyl look to the interior.

The Galaxie 500 has a lovely Ford 427 (7-litre) big block V8 engine, and this was built and painted with a blue similar to Ford engine blue. I also added sparkplug wires using 0.3mm black wire, and painted the relatively simple chassis and underside in suitable colours. The kit includes custom parts like 5-spoke racing wheels and a supercharger, but I decided to keep it razor-sharp and stock, 1960s style: some cars in my view benefit from being left factory standard, and the Galaxie is one of them.

To complete the sharp original look, I decided to use Bare Metal Foil (BMF) to dress the model’s window edges and body trim. BMF is a very thin self-adhesive chrome foil designed for this job, and with a lot of patience a very realistic look can be achieved. The foil has to be cut roughly to size, and is then placed onto the relevant area and rubbed down firmly with something like a paintbrush handle. After that, a sharp scalpel blade is used to trim the foil to size: if on a window frame for example, the blade is run along the edges of the frame leaving the chrome foil in place on the trim. I have so far done the window frames but still have to do the chrome side strips.
Next jobs on Project Galaxie: finish the chrome. Fit the glazing. Assemble the main parts and add finishing pieces.


Sunday, 17 March 2013

Project Heavy Haulage: Update 4

I had started to have a few doubts about Project Heavy Haulage, mainly because of a few details which I thought were wrong. So, I decided to take a few steps back and get the truck back on the right track. My main concern was over the chassis length: European trucks are only as long as they need to be because of legislation and the general need to save room in towns, depots and ferries, and the Volvo’s chassis had become unnecessarily long when I converted it into a 6x4 (see this post). I decided that the chassis needed a reason to be long, and what better reason than an extra axle? Also, I realised that the cylindrical diesel tank supplied in the kit was outdated and not right for my truck, so I decided to make a square tank which would fit into the space left between the axles.  This meant removing the diesel tank and battery box I had previously installed.
Several small companies make conversion kits to enable truck modellers to add extra axles, and add new diesel tanks. However, I decided to do some research and make my own new parts. First job was to make an extra axle: I decided to make a lift axle (an extra axle which can be dropped down onto the road to allow the truck to carry more weight, then lifted after the job to save on tyre wear and improve cornering) as these seem to be common on heavy haulage trucks. This was created starting with a spare steering axle complete with steering mechanism, onto which a frame was made out of plastic L-beams to mimic a real lift axle frame I found online.

Real lift axles use airbags to raise and lower the axle: I made a pair of airbags out of Milliput (epoxy modelling putty) and stuck them onto the frame. After a coat of grey paint to match the truck chassis, the lift axle was installed using superglue. I will need to add some mudguards for the wheels, though I am not sure whether to make some or buy a pair from a resin parts manufacturer.
Adding the lift axle meant there was not enough room for the cylindrical diesel tank which came with the kit, and which was inaccurate and outdated anyway. So, I decided to make a modern square tank to fit the space (heavy haulage trucks often seem to have odd-sized diesel tanks). My main concern was weight: truck diesel tanks are notoriously difficult to attach to the chassis because they are big and heavy but only attach via a couple of small brackets. To help overcome this, I decided to make my new tank out of balsa wood which is a nice lightweight building material. After measuring the space the tank needed to fit into, I cut several pieces of balsa wood to the required size and glued them together using PVA glue.
After letting it dry for a few hours, I sanded the balsa block to shape and gave it a layer of Squadron Green putty to begin to make a smooth finish. A few coats of putty were required before the block began to look smooth enough for painting. After all, it needed to look as smooth as metal when finished so it was very important to smooth over the grain of the balsa wood.
After a few coats of putty, smoothing each layer with sandpaper between coats, the diesel tank began to take shape and was then sprayed with several coats of satin black enamel paint to prepare it for a coat of Alclad chrome lacquer. The Alclad will give a natural metal finish like a real diesel tank.
I also did some more work on the crane, which will be mounted behind the cab. I completed assembly and added the decals, and I also added some hydraulic lines which were missing from the kit (these were made from black sprue heated in a candle flame and stretched to the correct thickness). I then applied a black oil paint wash to highlight the details and add a grubby, used look to the crane. I will talk more about washes in a future post: they are easy to do and can add a very realistic look to your model.
Next jobs on Project Heavy Haulage: finish the diesel tank. Add the crane and cab details.

Down Memory Lane: my early days as a modeller

There is something about miniatures which fascinates children. Though adults are often interested to see scale recreations of things, children in particular seem to be absolutely enthralled by the sight of real things captured in miniature. Of course, many children’s toys have traditionally been scaled-down versions of real-world things like cars, houses, guns, animals and so on. So it is probably not too surprising that when I first saw scale models, I was very impressed and wanted to make my own.

My childhood experiences of model making relate to my dad and my older brother, Ash. My dad has been a railway modeller since as long as I can remember, and Ash was into military aircraft and became a very respectable young aircraft modeller in his teenage years. Seeing my dad’s model railway layout made me familiar with the idea of creating a world in miniature from the word go. I also remember the fascination I felt as Ash removed the lid from a new aircraft kit and revealed all those grey plastic parts attached to frames, which I knew would eventually become a colourful and dramatic-looking miniature fighter plane. This being the early 1980s, our village was encircled by airbases from which RAF and USAF jets flew daily. My young friends and I were quite used to our peace being momentarily shattered by low-flying military jets, and I wanted to be able to build models of those thundering kings of the sky.

The first model kit I ever built was a Matchbox kit of the RAF’s Canberra bomber. Like many young modellers, I did not paint the plane – it remained in its plastic colours with the various RAF transfers (decals) being applied on top. I did not have a blade with which to cut parts from the frames, instead using a screwdriver to punch the parts loose! Still, I learned a lot even on that first build; the kit made me choose whether to make the bomb bay doors open or closed, and whether to build the landing gear down for landing or up for flying (I chose gear up and doors closed).

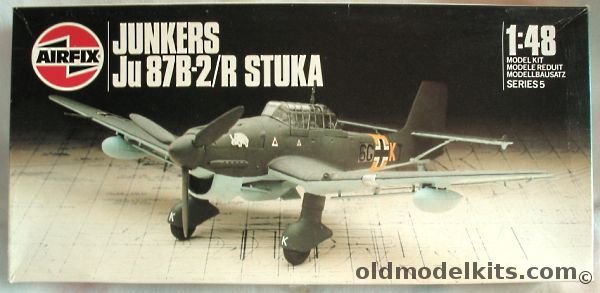
My memory is a bit clouded over my next build; I can recall building various planes and painting them with my dad’s old Humbrol paints, along with a Renault 5 police car (given to me by our neighbours) but the next kit I remember distinctly is an Airfix Stuka dive-bomber given to me by my grandma for Christmas. This one was painted by me in all-over olive green paint donated by my dad, and the transfers were applied, though they fell off later (I had much to learn…)

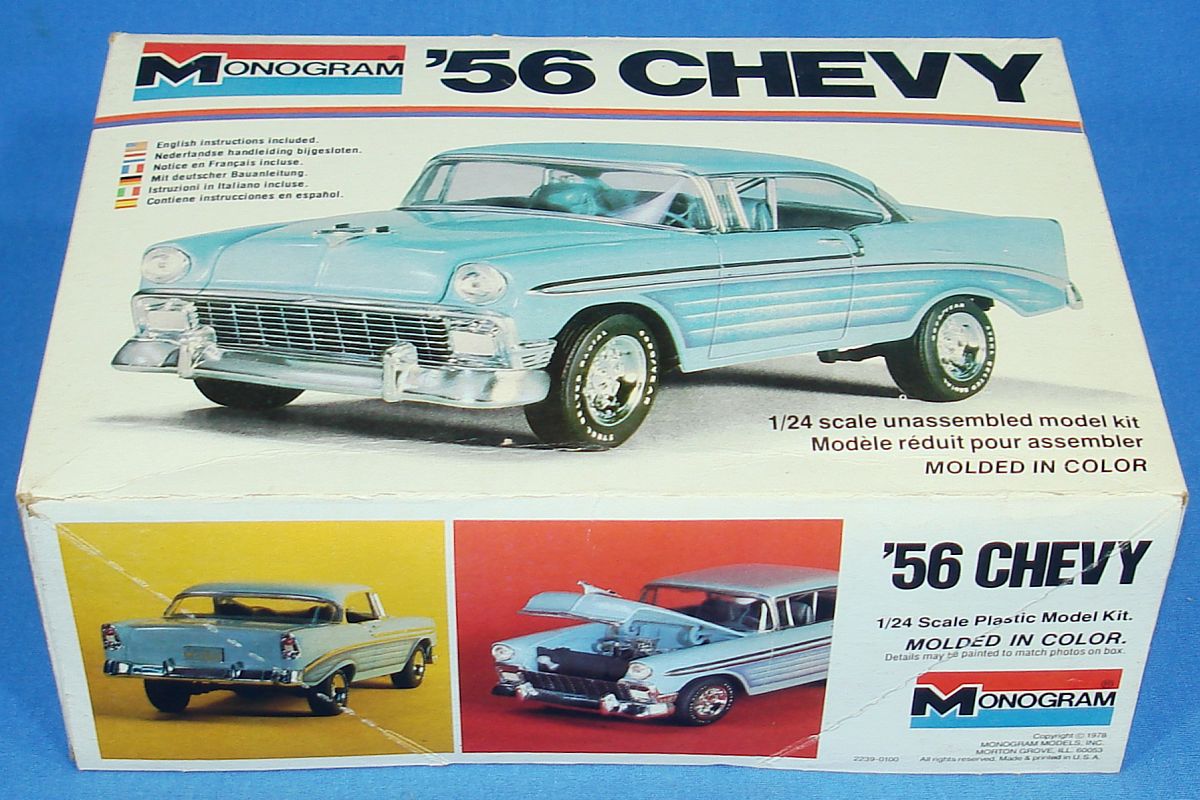
Once my family realised I liked building models, I regularly received model kits as presents – mostly plane kits – and soon built up a collection. It wasn’t long before I started building more car kits: I have been into cars since I was very young, so it was an obvious choice to build models of them, starting with the police Renault 5, followed by a 1979 Ford Mustang and then a 1956 Chevrolet. Again, the car bodies were left unpainted and any paints needed for the engine and interior were borrowed. However, it wasn’t long before I was buying glue and paints specifically for the models I was making, and at this point you could say I was taking model making seriously as a hobby.
To be continued

Thursday, 7 March 2013

Project Heavy Haulage: Update 3

During any build, whether it takes a weekend or a year from beginning to end, it is always very pleasing when the main parts of the model start to come together and give an idea what the finished model will look like. Project Heavy Haulage reached that stage this evening as the Volvo’s big red cab was finally united with the chassis. However, this heavy haulage Volvo FH is still a long way from completion.

Since the last update, I have added most of the chassis details such as the diesel tank, battery box, exhaust system with turbo pipework, front mudguards and a few other bits. This required a little extra thought as I have altered the chassis, as you can see in Update 1, meaning I had to carefully check the location of these parts. The other complication was the unfortunate fact that the kit manufacturer, Italeri, had based this 2000s truck model on an older 1980s Volvo kit chassis, making many of the chassis details including the engine incorrect and outdated. Rather than replacing the engine and all the other parts, I have decided to leave the old-style engine in place and use most of the old details with a few updates where I can. I am not a truck expert, so as long as the finished model looks good I will be happy, even if there are a few inaccuracies here and there.


The other tricky job was to attach the tilting cab to the chassis via a pair of plastic brackets which are fixed to the cab floor. As with the steering gear which allows the front wheels to be turned, the cab brackets allow the cab to tilt by allowing free movement of the pieces against each other, the pieces being pierced through to allow short rods or kingpins to run through them with the kingpin ends slightly melted to stop them falling back through the holes. This is all a bit hard to describe, but it’s just like a rivet which holds things together by slipping through a hole then having its head flattened. However, that wasn’t the tricky bit – it took only a minute or two. The tricky bit was hoping that the cab, made of numerous parts, would sit correctly on the chassis and over the engine and mudguards, again assembled from many parts. Luckily enough the cab sits pretty well, maybe a bit low at the front but good enough, and it sits perfectly on the rear cab support, a nice surprise.

The biggest problem came when I fitted the front bumper and headlamps unit, which fixes to the chassis rather than the cab: I have ended up with too large a gap between the bumper and the bit of the cab below the doors. I can’t think of an easy way to remedy this so it will have to stay as it is. Otherwise, I am pretty happy with how the cab has fitted.

The truck is now starting to take shape and I can now concentrate on the details: the crane which will sit behind the cab, the rear mudguards, and all the external parts like spotlights and the 5th wheel (the trailer coupling).

Next jobs for Project Heavy Haulage: finish and fit the crane. Fit remaining cab and chassis details.


Thursday, 21 February 2013

From the Archives: 1970 Mustang Boss 429


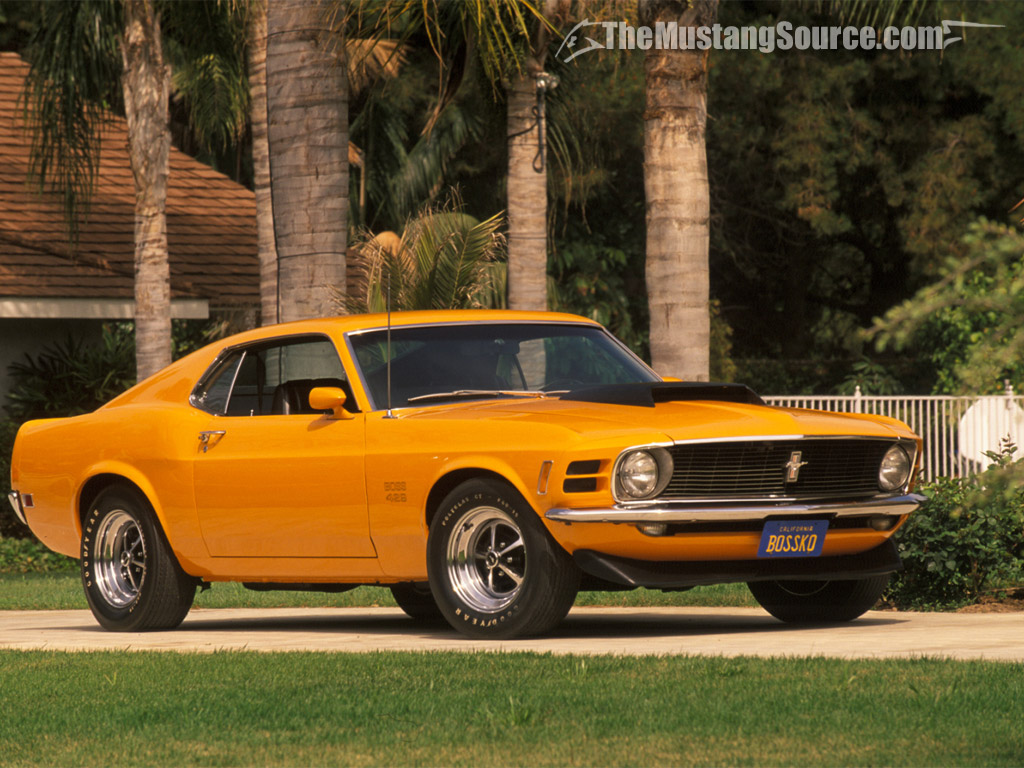
I built this mean-looking Mustang about 5 years ago. It is built from the 1/25 scale Revell 1970 Mustang Boss 429 kit, which includes parts to build a standard (stock) version or a custom version. Well, I like drag cars, hot rods and customs a lot, but for some reason I have never liked to see modified Mustangs: to me, the original sleek look is just right and difficult to improve upon. So, I decided to build it as a factory-fresh car in an original Ford colour.  

History: I won’t go on at length about the real Mustang Boss 429, after all if you are reading this you can read about them online, but it is quite an unusual Mustang. The Mustang was introduced by Ford in early 1965 as a new kind of car for American buyers: a smart-looking 2-door car with sporting aspirations and an extensive options list which enabled buyers to specify their car to be what they wanted, from a basic 6-cylinder cruiser to a hot V8-engined flyer with sports wheels and racing car gauges. By 1970, it had grown into a larger but meaner-looking car with bigger engine options, and the 429 (7-litre) big block V8 was one of the biggest ever available in Ford’s blue-collar sports car. The Boss Mustangs were really a marketing gimmick to capitalise on the contemporary wacky muscle car trend, and the Boss 302 and Boss 429 arrived at the height of the scene. Despite Ford’s marketing claims at the time, the 429 was not a superfast street rod like the Plymouth Barracuda, and it was not a nimble lightweight like its predecessors: it was designed to run endless fast laps on the racetrack, its huge 429 cubic inch (7-litre) V8 engine providing enough torque for effortless high speed.

The kit: The Revell kit is pretty good, though it has a few pitfalls which I did not manage to completely overcome, more on that later. American muscle cars are a bit odd from a modeller’s perspective – they came in a variety of exterior colours, but the interiors were mostly either black or white (some manufacturers offered other colours but white and especially black seem most common). My reference materials, chiefly the brilliant 1989 'Complete Book of Mustang' by the editors of Consumer Guide, showed white as a common colour for the 429, particularly with my preferred exterior paint colour Grabber Orange.

The interior parts were sprayed with Tamiya XF-2 white acrylic and the body shell was given a coat of the same white, followed by a gentle covering with Tamiya X-6 orange acrylic, a reasonable match for Grabber  Orange. The purpose of spraying the orange over a white basecoat was firstly to provide a smooth, matt primer coat for the orange, and secondly to give a bright white undercoat to make the orange ‘pop’ (the orange is brightened by the white coat beneath). The orange paint was then coated with a couple of shots of Johnson Klear floor polish which gives a subtle but quite realistic shine. The hood scoop, rear window slats and rear spoiler were given a coat of satin black as on the real Boss 429.
The fantastic 7-litre Ford V8 engine was brush-painted with a colour similar to Ford engine blue. It is nicely detailed in the kit and includes some nice manufacturer decals to add realism to the engine bay. I added sparkplug leads using 0.3mm black wire and gave the engine bay a coat of satin black paint to match those in my reference photos. I was careful when assembling the big engine to ensure that it sat low enough to allow the hood to close, though unfortunately the hood is not a very good fit on this model, being slightly warped and creating a poor join in the trim along the top of the grill and headlamps. As with many muscle cars, the Boss was fitted with Magnum (known as Rostyle in the UK) wheels with matt black segments, which were painted in carefully with a brush and some matt black enamel paint. The decals, other than those inside the engine bay, were limited to license plates and a small '429' motif behind the front wheelarches.
Overall I like this kit, though there is room for improvement. The overall shape is very good, though the front grill is a little too tall and not quite the right shape. Also, the real car was (and is) a rarity, so it feels as though build options and colours are limited if you intend to build it as a standard car.

Bad bits:
Poor hood fit is clearly visible from the front
The grill is a little too deep
Good bits:
Nice overall shape and detail
Well-detailed engine bay
Assembly generally straightforward