Welcome to the Beginners’ Workshop! Some of you experienced modellers might prefer to skip this post, but I hope some newcomers to the hobby will pick up a few tips here.
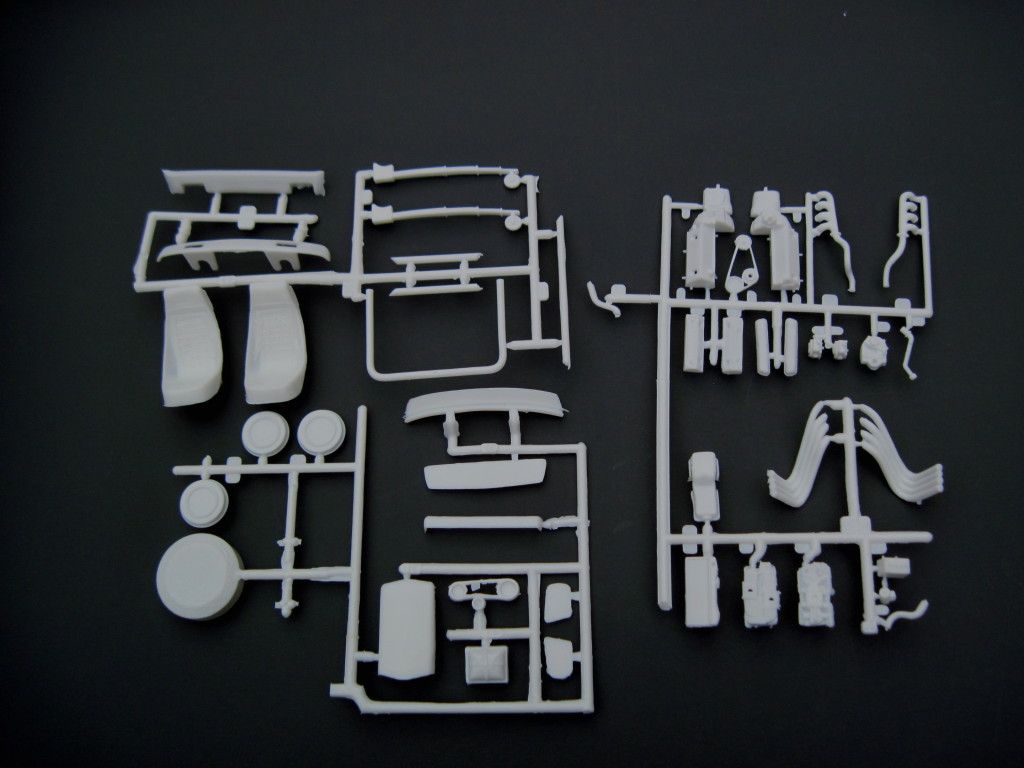
Most people associate model building with gluing things together, but before you can start assembling a kit you will need to get to grips with cutting. Most plastic kits are delivered to the customer with all the kit parts attached to a nice, organised frame or fret (sometimes called the ‘sprue’in the UK). The sprue not only keeps the parts in order during transit, but allows the model manufacturer to add a part number alongside each piece, which is then referenced during construction.
So, the first job when you begin assembly is to remove the first parts from the sprue and clean them up prior to putting them together. For the first job, I use a nice, cheap and easily replaceable craft knife. It doesn’t need to be capable of precision cutting, but it does need to have a good grip and a strong blade. I have broken many scalpel blades (more on scalpels below) doing this, and it really is worth having a cheapy craft knife to hand for getting the parts off. Be careful: it is easy to angle the blade wrongly and end up removing a tiny chunk from the actual part.

Another option is to use a pair of purpose-made snips or even small scissors. Some model and craft manufacturers like Tamiya and Revell sell craft knives which are almost if not as fine as scalpels, but I prefer to use a cheap, strong craft knife for this job.

What’s that green grid in the photos? That’s a self-healing cutting mat – an excellent product which acts as a cutting surface to prevent damaging your desk or work surface. Even better, it is slightly cushioned so it absorbs the force of your hand pushing the blade down and reduces the likelihood of small pieces pinging off the desk and across the room! It also automatically heals and hides any cuts.

OK, the parts are off the sprue but are they ready for assembly? Not yet – the chances are, you need to tidy up the cut you just made and perhaps remove some ‘flash’ (flash is a thin membrane of excess plastic sometimes found along the edges of kit parts, caused by worn moulds). You can use a scalpel to remove any excess: a nice sharp scalpel blade will remove excess plastic by running along the edge of the part at 90 degrees, or you can level the blade and carefully trim it. Scalpels are made by companies such as Swann-Morton, who also supply replacement blades which clip ontp the metal handle. Scalpel blades are flexible but will break easily if you apply too much pressure, so use a craft knife for tough jobs.

Otherwise, a piece of rough sandpaper or wet-and-dry paper (something like 400 or 600 grit – the grit rating should be printed on the back of the paper) will easily remove any flash or untidy sprue cuts.

What if you want to do some real cutting? Though the styrene used to make model kits is a soft plastic, a craft knife or scalpel will still only cut through a millimetre or so. To cut any further than that, you need a saw. However, a hacksaw from your local DIY shop is too imprecise to be much use: its chunky teeth will remove too much plastic from your project and it is too likely to damage the surrounding plastic. Instead, you need a razor saw. This is a thin, fine saw which has sharp teeth to quickly cut through styrene but without removing lots of material. The blade is fine and flat, allowing you to get close to the rest of the part you are cutting and cut exactly where you need to. It is called a razor saw simply because it is thin and flat: it is not related at all to razor blades for shaving.

Taking time to cut and finish pieces carefully before assembly pays great dividends during the build: it means your parts will fit properly, and it means they will look good and be ready for paint.
Do:
Check the instructions to see if you’re removing the correct part from the sprue
Cut away from the part when you’re removing it from the sprue, to avoid cutting into the part
Take great care trimming pieces: remember, you can always trim again if you need to but you cannot replace missing plastic if you go too far
Do not:
Remove parts from the sprue by twisting or pulling them – this can damage parts
Cut parts close to your body, like over your thigh or towards your thumb, and stick the blade into your skin. Ask me how I know…
Place stress on the part being cut. If the plastic starts to turn white, this indicates stress which will break or distort the part
Be afraid of getting it wrong: there is always another kit to build, so get stuck in and enjoy yourself.
No comments:
Post a Comment